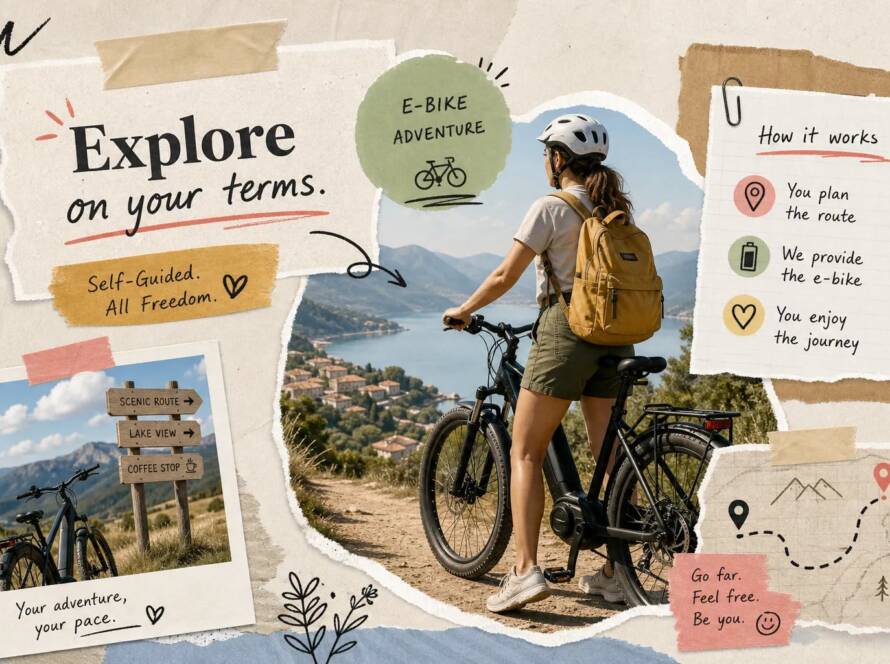
The best half-day e-bike route ideas share a simple formula: cover 10–20 miles, fit neatly into a 3–5 hour window, include at least one natural rest point, and match your battery’s real-world range to the terrain you’re actually riding. Half-day rides hit the sweet spot because they’re long enough to feel like a genuine adventure but short enough that you’re not crawling back to the car at sunset with empty legs and an emptier battery.
The trick is picking the right route before you roll out, not figuring it out 12 miles in. That’s exactly why hand-scouted GPS downloads, like the ones we build at Fun E-Bike Adventures, exist: someone already rode the route, mapped the good stuff, and packaged it so you spend your time exploring instead of troubleshooting. This guide covers route criteria, regional picks, battery math, gear, and how to tailor any ride to your fitness level.
Key takeaways
- Sweet spot distance: 10–20 miles at 10–15 mph fills a 3–5 hour half-day ride comfortably, with time for stops baked in.
- Battery planning matters: Hills can reduce your range by 30–40% compared to flat riding at the same assist level, so terrain type changes everything.
- Surface type determines access: Class 1, 2, and 3 e-bikes have different trail rules; check before you download any route.
- Build in a reserve: Always plan to finish with 15–25% battery remaining to account for headwinds, detours, and cold weather drops.
- GPS beats Google Maps for cycling: Cycling-specific navigation with offline capability and turn-by-turn cues beats general-purpose map apps for self-guided e-bike routes.
- Bailout points are essential: Every great half-day route benefits from deciding exactly how far you’re willing to go before fatigue or battery makes the choice for you.
What actually makes a half-day e-bike route worth your time?
Not every 15-mile loop deserves your Saturday morning. A good half-day route earns that time slot by delivering something worth showing up for, without punishing you in the process. Here’s what actually separates a memorable ride from a forgettable one.
The distance and time sweet spot for a 3–5 hour outing
At a recreational average of 10–15 mph on paved trails or 10–14 mph on mixed terrain, 10–20 miles fills a 3–5 hour window without anyone suffering. That math already includes rest stops, the photo you’ll absolutely take at the scenic overlook, and the café that turns up somewhere along the way. Keep the formula simple: distance divided by average speed gives you saddle time, and you need buffer for the stuff that isn’t saddle time.
Scenic variety and rest points: the difference between a ride and an adventure
A route with no payoff is just cardio with a helmet. The best half-day rides have at least one anchor moment, a waterfront view, a trail through old-growth woods, a town square with a coffee shop, plus one or two natural pause points built into the path. Those rest stops aren’t just nice; they’re functional. They double as built-in bailout options if your battery or your legs start running low before the loop closes.
Surface type and terrain matching your e-bike class
Paved rail trails, canal paths, and beachfront routes are the low-stress standard for half-day rides. Light gravel opens up more options, and sustained climbing opens up a battery problem. Class 1 e-bikes are limited to pedal-assist only with a 20 mph cutoff; Class 2 adds a throttle; Class 3 bumps the assist cutoff to 28 mph. Each class has different trail access rules, and finding out your bike isn’t allowed on a path after you’ve driven 45 minutes to the trailhead is exactly as fun as it sounds.
Best half-day e-bike route ideas across the U.S.
Rather than sorting by geography, here are strong picks for short e-bike itineraries organized by ride style so you can self-select based on what you’re actually in the mood for.
Flat and scenic: best half-day e-bike route ideas for a stress-free outing
Shark Valley Trail in Miami is a 15-mile fully paved loop through open Everglades wetlands with nearly zero elevation gain and a solid chance of spotting alligators without breaking a sweat. The Marvin Braude Bike Trail in Los Angeles runs 20–22 miles along the beachfront from Santa Monica to Redondo Beach with just 300–600 feet of gain. The Minneapolis Chain of Lakes loop comes in at about 15 miles of paved urban trails. These are prime picks for newer riders, couples, and anyone who wants scenery without the quad burn.
Rail trail rides: smooth pavement, great scenery, zero traffic stress
Rail trails are the half-day format’s best friend. They’re built on old railroad grades, which means gentle grades, clear paths, and regular access to rest towns. The Cape Cod Rail Trail covers up to 25 miles of paved riding with Nickerson State Park and Orleans providing solid midpoint stops. The Springwater Corridor in Portland runs 15–21 miles on paved trail and packed gravel. The Capital Crescent trail in the D.C. area stretches 20–25 miles with 500–900 feet of gain, including paved trail and canal towpath sections.
Routes with some elevation: where the e-bike motor actually earns its keep
This is exactly the terrain where pedal-assist transforms a sufferfest into a highlight reel. The Muir Woods–Mill Valley loop in the Bay Area covers 20–25 miles with 1,500–2,500 feet of gain on paved roads and narrow wooded lanes. The River Mountains Loop near Las Vegas delivers 20–30 miles of sustained rolling climbs through open desert, with mountain panoramas and occasional bighorn sheep as the reward. Boulder Creek in Colorado packs 18–25 miles of paved paths, gravel connectors, and 700–1,200 feet of gain into a solid half-day circuit. On routes like these, hitting Eco on the flats and bumping to Sport on the climbs is the right play.
How do you know if your battery will handle the route?
Many riders don’t think about their battery’s Wh rating until they’re 18 miles from the car with one bar of charge. Here’s the math in plain English.
The quick math behind e-bike battery range
Start with your battery’s rated Wh (volts times amp-hours). Plan on using about 90% of that number as your usable capacity. Then estimate your consumption per mile based on assist level and terrain. According to testing data published by biketips.com, flat Eco riding runs roughly 8–12 Wh per mile, moderate assist on mixed terrain runs 12–18 Wh per mile, and Sport on hilly terrain runs 18–25 Wh per mile. The table below gives a quick reference for maximum theoretical range, keep in mind that the recommended half-day sweet spot is 10–25 miles, so use these figures to confirm your battery can cover your planned distance, not as a target to hit.
| Ride duration | Distance at 10 mph | Distance at 12 mph | Approximate battery need (18 Wh/mi, 20% reserve) |
|---|---|---|---|
| 3 hours | 30 mi | 36 mi | 675–810 Wh |
| 4 hours | 40 mi | 48 mi | 900–1,080 Wh |
| 5 hours | 50 mi | 60 mi | 1,125–1,350 Wh |
Why hills shrink your range more than distance does
A 20-mile flat canal path and a 20-mile route with 1,500 feet of climbing are completely different battery conversations. According to testing data published by biketips.com, sustained climbing can reduce your range by roughly 30–40% compared to flat riding at the same assist level. The simple rule: if the route has real hills, budget for Sport or Turbo on the climbs and drop back to Eco on the flats to stretch what’s left.
Battery reserve planning for the best half-day e-bike route ideas
The 15–25% reserve rule isn’t just a suggestion: it’s a survival strategy. Headwinds, unexpected gravel sections, cold battery performance, and navigation detours all eat into your range in ways that don’t show up on a route preview. Rest points built into the route do double duty as natural checkpoints where you can honestly assess remaining charge before committing to the next leg.
Why do hand-scouted GPS route downloads outperform a Google Maps search?
Google Maps is great for finding a pizza place. It is not great for planning a half-day e-bike outing. Generic map apps route for car traffic and don’t account for surface type or battery-aware distance planning. This is the gap that purpose-built GPS routes fill.
What a hand-ridden, hand-scouted route actually includes
At Fun E-Bike Adventures, every route is personally ridden and verified by our founder Chris Jameson before it’s published. Each download on the Ride with GPS platform includes turn-by-turn navigation, mileage and duration estimates, half-day format structuring, and insider points of interest that no algorithm is going to surface for you. These aren’t routes generated by an app. They’re routes that a human rode, vetted, and mapped specifically because the stops along the way are worth stopping for.
Built specifically around the half-day adventure format
Our routes are designed around 3–5 hour formats with rest points, manageable distances, and logical start-to-finish flow. They already answer the questions this guide covers: distance, time estimate, terrain type, and where to pause. Routes start under $6 ($2.99 now through December 31st 2026) with no expiration once downloaded, which removes all the planning friction for a price that’s considerably less than a single cup of specialty coffee at the trailhead café.
The freedom advantage of a one-time download
The Ride with GPS platform works offline once a route is downloaded, which means spotty cell service in a coastal corridor or a wooded rail trail won’t leave you stranded mid-ride. Contrast that with Google Maps, which limits offline features to area-based downloads with no cycling-specific cues, no route warnings when you drift off-path, and no integration with the route someone actually designed for your outing. Download and test your route in airplane mode before you leave, if it loads offline there, it will load mid-ride. One purchase, lifetime access, ride it whenever the weather cooperates.
How do you adjust a half-day e-bike route for your fitness level?
A route that’s a comfortable spin for one rider is an all-day grind for another. The fix isn’t finding a different route every time; it’s building flexibility into the one you pick.
Beginner adjustments: built-in bailout points and turnaround planning
Out-and-back routes are a beginner’s best friend because you can turn around at any point without getting stranded inside a loop. The 2–10 mile park loop is a solid low-commitment entry point, and sticking to flat paved paths with predictable turnaround options keeps the stakes manageable. The key planning move is deciding exactly how far you’re willing to go before fatigue or battery makes the choice for you, no negotiating when you’re already tired at mile eight.
Intermediate and advanced variations: extending without overcommitting
Intermediate riders can use crossroads or connector trails to shorten a large loop on the fly, converting a full circuit into a smaller one without backtracking. Adding a short out-and-back from a midpoint adds mileage without locking you into a larger circuit. Advanced riders can stack connected loops, hit optional elevation spurs, or swap paved sections for compatible gravel. The rule across all levels is the same: plan every extension so the return trip still has battery reserve for headwinds, hills, and navigation detours.
What should you pack for a 3–5 hour e-bike outing?
Overpacking for a 3-hour ride is its own form of suffering. Here’s what actually covers 95% of half-day outings without turning your bike into a pack mule.
Battery and charging logistics before you leave
Charge to full the night before, not the morning of. Know your bike’s usable range at the assist levels you plan to ride, not the optimistic range printed on the spec sheet. If the route pushes the upper edge of your battery’s real-world capacity, identify a coffee shop or public charging point along the way before you leave.
The short gear list that covers 95% of half-day rides
Helmet, water (bring regular sips and plan for more in hot weather), a basic snack, a phone mount, a small toolkit with a tire patch kit and hand pump, a light layer if weather is variable, and a charged phone with the route already downloaded and tested in airplane mode. That is genuinely all most half-day rides require. More gear does not equal more adventure. It usually just equals a heavier bike and a sore back.
Go ride something worth riding
A great half-day e-bike route has the right distance for your battery, at least one scenic reward, manageable terrain for your skill level, and a bailout plan if things don’t go perfectly. Those four criteria eliminate most bad route decisions before you ever clip in. The best half-day e-bike route ideas don’t come from searching “bike path near me” on Google Maps and hoping for the best.
They come from riders who’ve already been there. That’s exactly what Fun E-Bike Adventures routes are built on: founder-ridden, GPS-verified, and structured around the half-day format, available for the price of a coffee with no expiration date. Browse our current route downloads and get your next electric bike day trip on a path someone already scouted, mapped, and verified is worth your time.
Frequently Asked Questions
Can I use a downloaded route without cell service?
Yes, once you download a route on the Ride with GPS platform it works offline. Test the download in airplane mode before you leave so you know it will load mid-ride, and rely on the route’s turn-by-turn cues rather than cell-dependent map features.
Do purchased routes ever expire?
No, downloaded routes have no expiration once purchased. You get lifetime access to the route download after buying it, so you can ride it whenever the weather cooperates.
What should we do if battery levels look low mid-ride?
Stop at the next planned rest point and reassess using the 15–25% reserve rule as your minimum safety margin. Use lower-assist modes on flats, bump to higher assist only on climbs, and treat mapped rest points as bailout checkpoints so you can shorten the route if necessary.