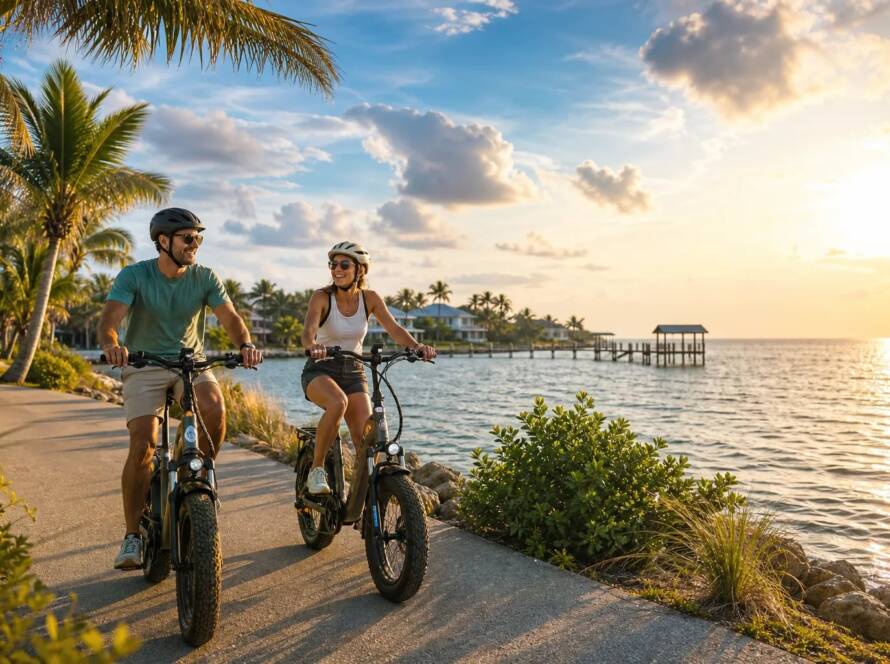
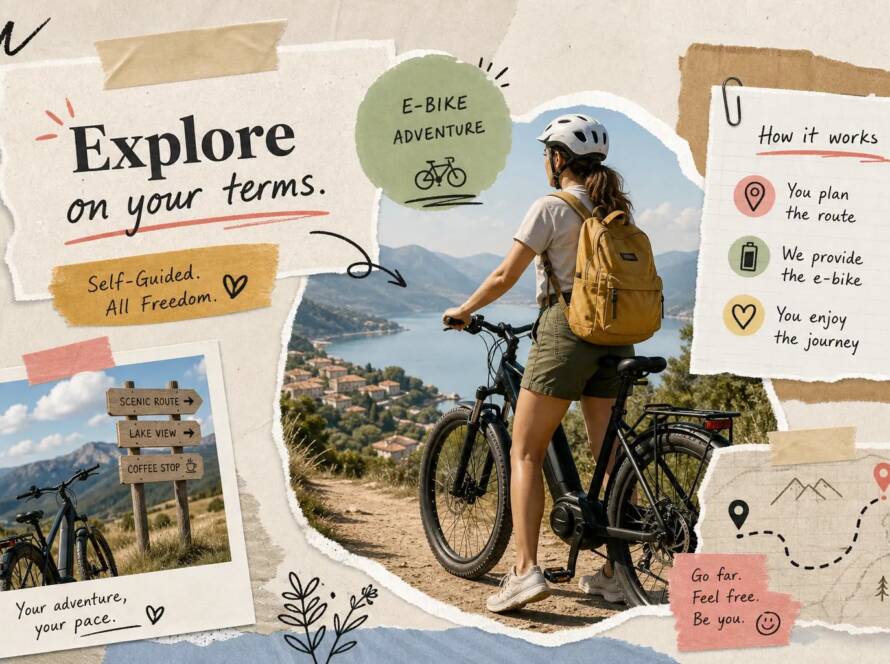
So you’ve got an e-bike, congrats. You’ve also got a mild look of panic on your face, because the thing weighs 50 pounds, has a motor, and someone just mentioned “pedal assist” like you were supposed to already know what that means. Deep breath. If you’re wondering how to ride an e-bike for the first time, this guide walks you through every stage: the pre-ride check, mounting, pedal assist settings, braking technique, and where to practice. The motor works with you, not against you, and the learning curve is genuinely short if you go in with a plan.
This guide covers everything you need before your wheels hit pavement: the pre-ride check, how to mount and get moving, what all those pedal assist levels actually do, how to brake correctly (this one matters a lot), and where to practice. Once you’ve nailed the basics, routes like the ones Chris Jameson personally scouts for Fun E-Bike Adventures start to look very appealing. First things first: let’s get you rolling without tipping over.
What to Check Before You Ever Touch the Pedals
Think of this as a quick ritual, not a NASA countdown. Skipping it is how people end up riding on a soft tire at 15 mph and wondering why the steering feels weird. This quick check takes about a minute and prevents most common beginner problems before they start.
Gear That Actually Earns Its Spot
You don’t need to buy out the whole cycling aisle. For a first ride, you need three things at minimum: a properly fitted helmet certified to CPSC, ASTM, or Snell standards; closed-toe shoes with secure soles; and padded gloves if you have them. Bright or reflective clothing is smart too, especially if you’re riding anywhere near traffic. Sunglasses, water, and your ID round things out nicely. That’s it. Start there.
The One-Minute Bike Inspection
Walk through these four checks every single time you ride:
- Tires: Use a gauge and inflate to the pressure printed on the sidewall, usually 35, 55 psi for most recreational e-bikes. Squeeze-testing is not accurate. Inspect for cuts or bulges while you’re at it.
- Brakes: Walk the bike forward and squeeze the front lever, then the rear. Each should stop the wheel firmly with no grinding or excessive lever travel. Spongy brakes mean don’t ride.
- Battery: Seated, latched, display powers on with no warning messages. Simple.
- Handlebars, saddle, pedals: Grab the bar ends and try to wiggle them. Check the saddle clamp. No wobble anywhere.
Seat Height Setup
Adjust the seat so you can comfortably place at least one foot flat on the ground when stopped. On a regular bike this would feel low, but e-bikes are heavier, often 45, 60 lbs, and balance at stops is more critical when the frame has that much mass under you. Get the height right before powering on. It’s easier to dial in while you’re still focused on the setup rather than the ride.
How to Ride an E-Bike: Mounting and Your First Pedal Stroke
The “what if I tip over immediately” anxiety is real, and it’s also unnecessary once you know the sequence. The trick is doing everything in the right order so you’re never fighting the bike’s weight while also trying to get your leg over it.
Getting On Without the Awkward Wobble
Stand on the left side of the bike with both hands on the handlebars and your fingers hovering near the brake levers. Swing your leg over the rear wheel (or step through if it’s a step-through frame), then sit fully on the saddle before releasing the brakes. The bike should not move while you’re getting settled. One foot flat on the ground, the other foot on a pedal positioned slightly above horizontal. You’re ready.
How to Ride an E-Bike: Choosing Your First Assist Level
Turn the bike on only after you’re seated and stable. Select PAS 0 or PAS 1 immediately, no higher on your first attempt, full stop. Release the brakes, push down on the raised pedal, and let the motor engage gradually. Look ahead, not down at the wheel, the bike goes where your eyes go, and staring at your front tire is a fast way to drift sideways into nothing good.
If Your Bike Has a Throttle
Keep the input tiny and brief on the very first try. Never test the throttle while you’re standing beside the bike, because the bike will move and you won’t be on it. Practice straight-line starts under pedal assist before you add any throttle to the mix. The throttle isn’t going anywhere; you can explore it once the basics feel predictable.
Pedal Assist Levels Explained Like a Normal Human
PAS, or pedal assist, uses sensors to detect that you’re pedaling and tells the motor how much help to add on top of your effort. Think of it like having a very enthusiastic friend pushing you from behind. At level 1, they’re barely touching you. At level 5, they’re basically carrying you up the hill.
What PAS 0 Through 5 Actually Feel Like
PAS 0 is motor off, the bike rides like a very heavy regular bicycle, because it is. PAS 1 is a light boost: the right setting for learning, flat paths, and anywhere with pedestrians nearby. PAS 2 is moderate and becomes your comfortable everyday default once the basics are solid. PAS 3 and above deliver stronger help for hills, headwinds, or when your legs have had enough. Some bikes use labels like Eco, Tour, Sport, and Turbo instead of numbers. Same concept, different branding.
Throttle vs. Pedal Assist: The Real Difference
A throttle delivers power the moment you twist or press it, no pedaling required. Pedal assist layers motor power on top of your pedaling effort. Throttle can feel abrupt and a little unpredictable until you’ve developed a feel for it. PAS generally feels more natural because it follows what you’re already doing. Master pedal assist first, then practice the throttle separately in a clear area. That’s the progression that builds confidence instead of chaos.
A Practical Rule for Assist Levels
As a beginner, start every ride at PAS 1. Move to PAS 2 once starts and stops feel predictable. Increase assist only for a specific reason: a hill, a headwind, tired legs. Drop back down when the terrain eases. Riding high assist on flat ground isn’t impressive, it’s just burning battery.
Braking: The Skill That Actually Keeps You Safe
E-bikes weigh more and accelerate faster than regular bikes, which means they also take longer to stop. Most beginners don’t fully appreciate this until they’re closer to an intersection than they wanted to be. Braking technique is the most safety-critical thing in this entire guide, so take it seriously.
Why E-Bike Braking Deserves More Respect
At the same speed, an e-bike carries more momentum than a regular bike. Braking distance scales with the square of your speed, which means going from 10 mph to 20 mph doesn’t double your stopping distance, it roughly quadruples it. Never abruptly grab only the front brake. It pitches weight forward fast and can send you over the bars before you’ve processed what happened.
The Right Way to Stop
Apply both brake levers progressively and simultaneously. Start braking earlier than instinct tells you to. Keep the handlebars straight and your weight balanced as the bike slows. When you’re nearly stopped, drop one foot to the ground, don’t wait until you’ve fully stopped. Also, stop pedaling before you brake so you can feel exactly how quickly your system cuts motor power. Each bike is a little different.
Two Drills That Build Real Stopping Confidence
The controlled stop drill is simple: from low speed, ride straight and apply both brakes progressively until stopped. Do this ten times. The emergency stop drill adds a mark on the ground. Approach at around 10 mph, then stop as quickly as possible past that point while keeping the bike straight. Note your stopping distance and work on improving it. Run both drills before you ride anywhere near traffic. They take fifteen minutes and they’re worth every second.
Where to Practice and What to Drill First
The environment you choose for your first session makes a bigger difference than most people realize. The wrong location adds variables that have nothing to do with riding skill, and those variables will undermine your confidence fast.
The Ideal Beginner Practice Location
A large, flat, empty parking lot is close to perfect. Away from traffic, pedestrians, parked cars, curbs, and loose gravel, with enough room for straight-line braking and wide turns. Time it right: early weekend mornings, when lots are nearly empty. This isn’t about being timid; it’s about removing distractions so you can actually focus on the bike.
Three Drills That Build Real Riding Confidence
Straight-line glides: Ride slowly in a straight line, eyes ahead, arms relaxed. Practice starts and stops at walking speed before increasing pace. This one sounds boring and is actually essential.
Wide circle turns: Make large, gentle circles in both directions. Look through the turn toward where you’re going, lean bike and body together, and maintain a steady speed.
Figure-eights: Place two markers several yards apart and ride wide figure-eights around them. Narrow the spacing as your control improves. This is the single best low-speed balance drill you can do.
The Skill Progression Before Hitting Real Roads
Start with the motor off and focus on braking, balance, and turning. Once those feel manageable, move to PAS 1 for straight-line starts and stops. Next, practice PAS 1 for turns, low hills, and surface changes. After that, add brief throttle practice in a clear area if your bike has one. Normal riding follows naturally once each step feels automatic. Expect to feel noticeably more comfortable after a few short sessions spread over your first week or two, most riders find that consistent practice over 5, 10 rides builds genuine confidence for independent riding.
Ready for Your First Real Outing? Do This One Thing First
New riders get overwhelmed on their first real ride for one consistent reason: they’re trying to navigate and learn to ride at the same time. Fumbling with a phone map or making last-second turns in traffic kills confidence faster than anything else. The fix isn’t to ride more carefully, it’s to plan before you go.
How a Pre-Planned GPS Route Changes Everything
With turn-by-turn navigation already loaded on your phone before you leave home, your only job is to ride. You stay in the moment: watching traffic, feeling the assist levels, actually noticing the scenery. A route matched to your skill level, flat terrain, low traffic, short mileage, removes all the guesswork. Fun E-Bike Adventures builds routes specifically with new riders in mind. Every route is personally scouted and ridden by founder Chris Jameson, loaded on the Ride with GPS platform, and ready to follow from your first real roll. No itinerary anxiety. No wrong turns. Just ride.
What to Look for in a Good First-Outing Route
Aim for a short, manageable first ride, roughly 20 to 30 minutes is a solid target. Flat terrain is non-negotiable until braking and turning feel automatic. Paved paths, greenways, or protected bike lanes beat busy roads by a wide margin. Pre-load the route on your phone before you leave home; setting it up curbside while traffic moves around you is not the vibe you’re going for. Routes from Fun E-Bike Adventures start under $3 and are yours to keep permanently after one purchase, so there’s no scheduling, no group pace to keep up with, and no tip jar at the end.
You’re Closer to Confident Than You Think
Learning how to ride an e-bike safely isn’t complicated when you break it into stages. Check the bike, mount carefully, start on PAS 1, brake progressively, and drill the basics in a parking lot before you ride anywhere interesting. Follow these first-time e-bike instructions in order and the technique sticks faster than you’d expect. The motor helps, but good habits are what make that confidence last.
When the parking lot starts to feel too easy, that’s your cue to take it somewhere worth riding. A pre-planned GPS route from Fun E-Bike Adventures gives first-timers a hand-curated path to follow, with no navigation stress and no group schedule to keep up with. Your first adventure is closer than you think. And now you actually know how to ride an e-bike to get there.